|
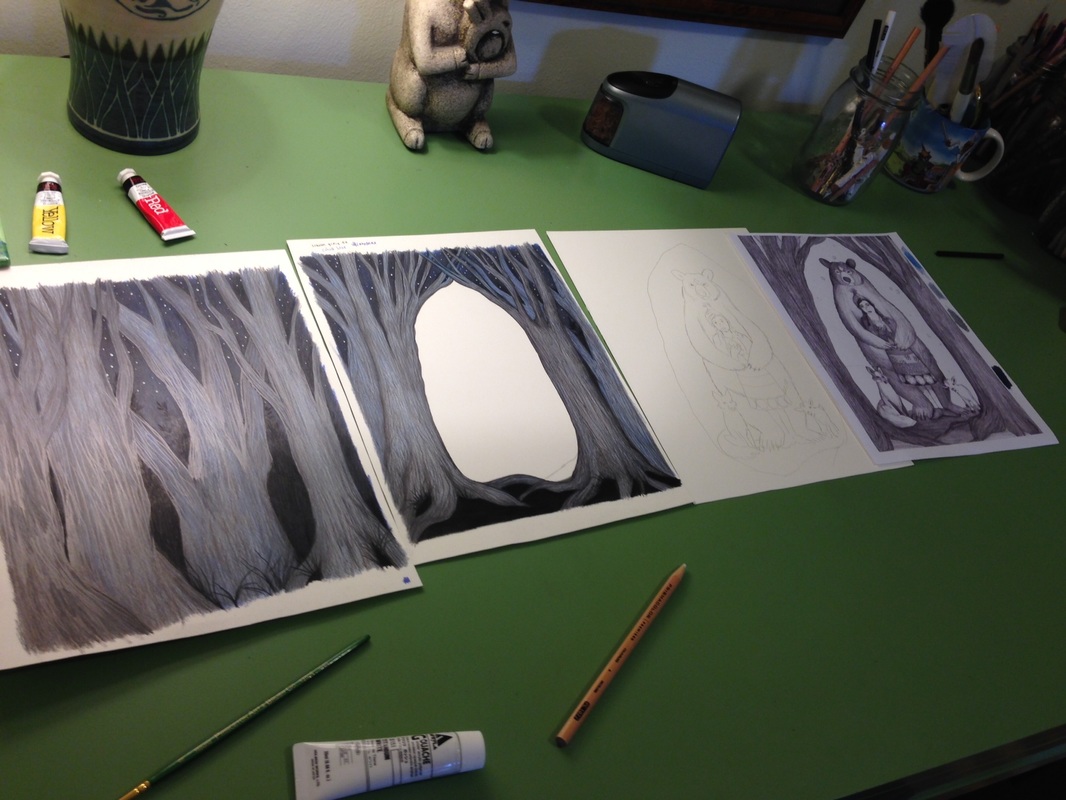
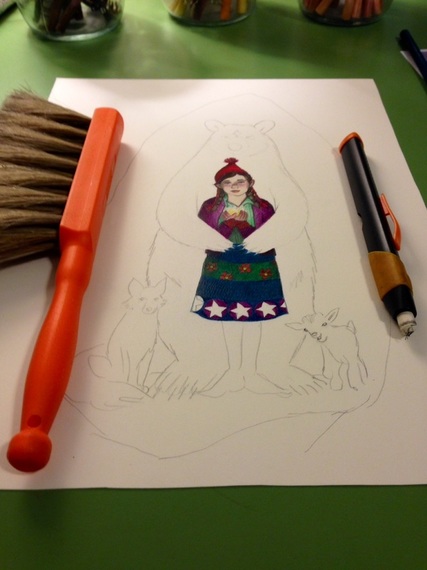
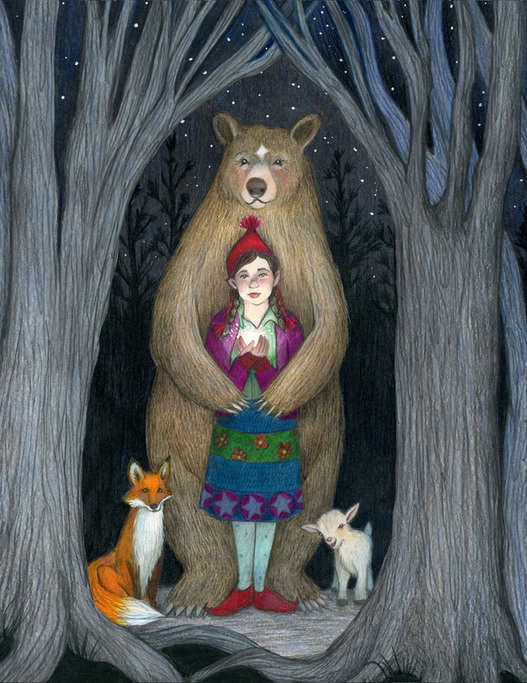
I sent my dummy out into the world with a black and white cover, but I wanted a color pop for presenting it at the portfolio showcase at SCBWI. Here is a little about my process. I started the two pictures of the night forest at my parents' home in Maryland. I didn't trust myself to do the detail work of the characters in a setting where I would not have quiet and concentration for hours on end, so I did the heavy layer work of the trees and sky. As you can see, I laid out the front cover with a hole in it. This would allow me to drop in the image of the characters, drawn at a larger scale for better detail, in Photoshop. 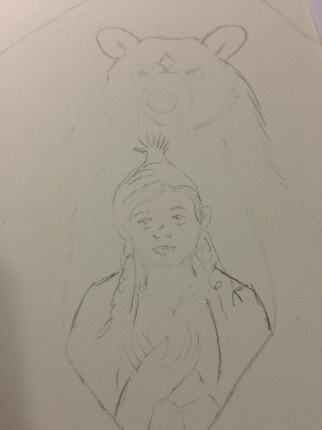 When it came time to work on the characters, I used my light board to transfer the black and white drawing I had made for the dummy to my Arches Hot Press 140lb paper. Hot press paper is smooth and very heavy, so it will take many layers of color without rippling the paper, and is smooth enough to allow for delicate detail. However, it is a pretty soft surface, which means that it doesn't erase well. So draw lightly, and then use a barrel eraser to pick up as much extra graphite as possible, leaving only a bare outline. This will guide your pencil and minimize the risk of smearing the graphite into the lighter tones of the colored pencil. You can see I only have the barest lines possible...hardly any detail at all. That's ok...I have my black and white drawing as reference. 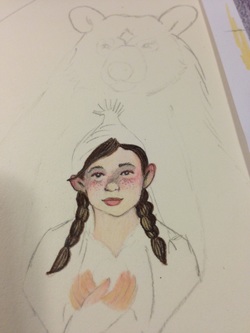 As you can see, the process of colored pencil is a gradual one. The thing about colored pencil: it looks bad until it looks good. You have to be patient. There are many layers of bad before it becomes nice, and you have to trust in your plan, be careful, and allow the layers to work together. I always work on the hardest parts first: the faces and hands. If they look bad, it's worth it to start over as you haven't invested much energy into the drawing at this point. Below, the figure of the girl is progressing. Take care when layering the color to carefully brush away any color wax dust that the pencils kick up, and to use the barrel eraser to pick up any residue, ensuring a clean surface. I prefer a barrel eraser as it offers some control. I also have a tiny barrel eraser for detailed erasure. 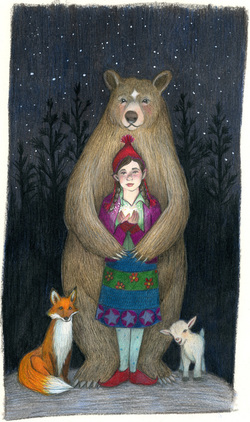 I drew the "background" of the cover as a larger image to give myself some room to move it around in the composition. I like here how they are out in the open, knowing that they will soon be in the forest. The grey blue sky feels like winter to me. I used graphite for tone and detail and gouache to brighten the star and to add the twinkling of the night stars. When you are finished, be sure to use a good quality fixative, and spray the drawing outside for ventilation. Your neighbors will think you are a vandal, but it's all for the good of your professional mystique. Below: The final cover image of "Lore and the Little Star" without text. Colored pencil, pencil, and gouache. Copyright 2015 Jessica Boehman. Please do not reproduce without permission.
3 Comments
I so enjoyed reading how you created this piece and seeing some of the stages. Thank you for sharing this. It is such a wonderful piece, enchanting. I had the pleasure of watching a bear root around two days ago.
Reply
7/12/2015 05:27:08 am
Hi Tammie,
Reply
Leave a Reply. |
Hans-My-HedgehogHans-My-Hedgehog Illustrations is the name of Jessica Boehman's blog and illustration shop. It is named after her favorite fairy tale about a hedgehog boy who becomes king of the forest. All other pages redirect to: |

 RSS Feed
